제목: 클라우드웨이즈에서 네이버 서치어드바이저 HTML 파일 업로드하는 법 (SFTP 활용기)
워드프레스 블로그를 운영하다 보면 네이버 서치어드바이저 소유권 확인이나 ads.txt 수정을 위해 서버의 루트 폴더에 접근해야 할 때가 있습니다. 하지만 클라우드웨이즈 대시보드에서 아무리 찾아도 ‘File Manager’ 메뉴가 보이지 않아 당황하셨나요?
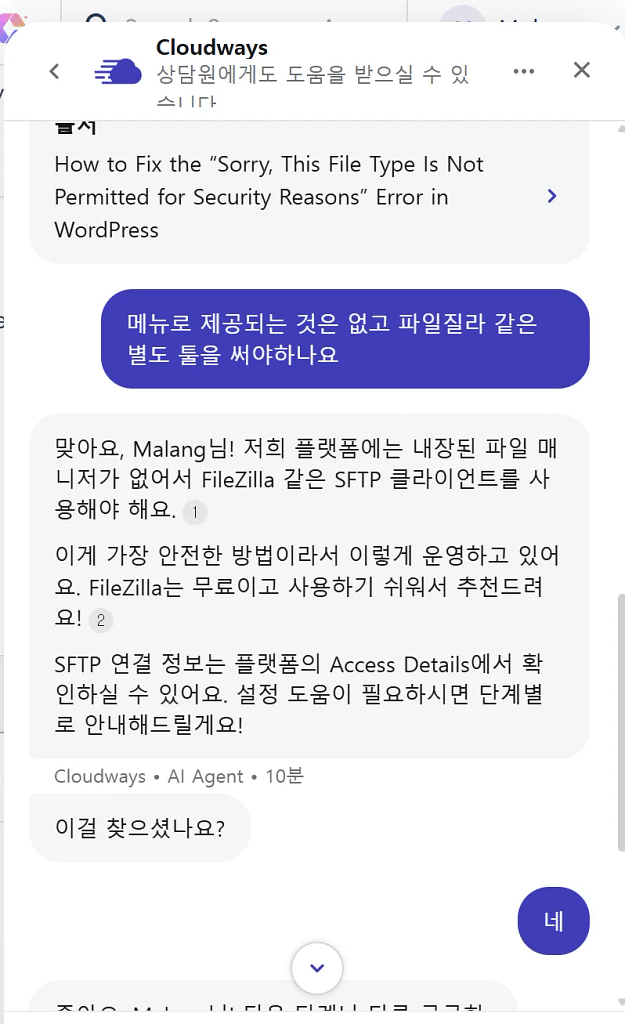
최근 상담원과의 대화를 통해 확인한 결과, 클라우드웨이즈는 보안을 위해 대시보드 내 내장 파일 매니저를 제공하지 않습니다. 대신 가장 안전하고 확실한 방법인 SFTP(FileZilla) 사용을 권장하고 있습니다.
해결 방법: FileZilla로 루트 폴더 접근하기
- FileZilla 설치: 무료 소프트웨어인 파일질라를 다운로드합니다.
- 접속 정보 확인: Cloudways 대시보드의 Access Details 탭에서
Public IP,Username,Password를 확인합니다. - SFTP 연결: 파일질라 상단에 정보를 입력(포트는 22번)하고 연결합니다.
- 파일 업로드:
/public_html디렉토리로 이동하여 네이버에서 받은 HTML 확인 파일을 드래그 앤 드롭으로 업로드합니다.
결론: 메뉴가 없다고 당황하지 마세요! SFTP를 이용하는 것이 훨씬 전문적이고 안전하게 내 소중한 블로그 데이터를 관리하는 방법입니다.
[English Posting] Cloudways File Upload: No File Manager? No Problem!
Title: How to Upload Naver Search Advisor HTML Verification File to Cloudways (Using SFTP)
When managing a WordPress blog, you often need to access the root folder to upload verification files (like Naver Search Advisor) or ads.txt. However, you might find that there is no “File Manager” menu in the Cloudways dashboard.
According to a recent support chat with Cloudways, the platform does not provide a built-in file manager for security reasons. Instead, they recommend using an SFTP client like FileZilla, which is the most secure way to handle server files.
The Solution: Accessing Root Folder via SFTP
- Install FileZilla: Download the free FileZilla software.
- Get Credentials: Check your
Public IP,Username, andPasswordunder the Access Details tab in your Cloudways dashboard. - Connect via SFTP: Enter your details at the top of FileZilla (use Port 22) and connect.
- Upload the File: Navigate to the
/public_htmldirectory and simply drag and drop your HTML verification file.
Conclusion: Don’t panic if you can’t find a file manager menu. Using SFTP is a more professional and secure method to manage your valuable blog data.
English version: Read this article in English